Last updated on February 7th, 2023 at 10:18 am
Intention
I was interested in Cloudflare but haven’t had a chance to dig it deeper.
After a bit of research, I found that it would come between the hosting server and your computer, ease the server load, and help security. I was particularly interested in improving the loading speed and how it helps server reliability.
I tried the free option on this website to see how it works on small-scale websites.
Find more about Cloudflare here.
Set up
Setting it up was straightforward.
- Add a website
Go to Cloudflare → Create an account → Add a website → Select the free plan
- Review DNS records
Once a website is added, it will show the current DNS records of the website. I wouldn’t change anything there unless I know exactly what I am doing. It also tells you it could take up to 24 hours to verify the site ownership.
Once you click “Continue,” you will see an instruction to change the nameservers.
Make a note of the current nameservers to remove and Cloudflare’s nameservers to add. For example, mine looked like this.
- Change nameservers at the domain provider.
While you wait for the site ownership to be verified, you can change the nameservers.
→ Log in to your domain registrar’s account (I use a different provider for domain and hosting, but some use the same provider.)
→ Go to DNS/Nameservers setting and find the current nameservers usually include the hosting provider name.
→Remove the current nameservers and add Cloudflare’s nameservers and save the setting.
It can take 24 hours for registrars to process nameserver updates.
You will receive an email when your site is active on Cloudflare.
You can also use a free tool like this to check if your site’s nameservers have changed thoroughly.
Findings
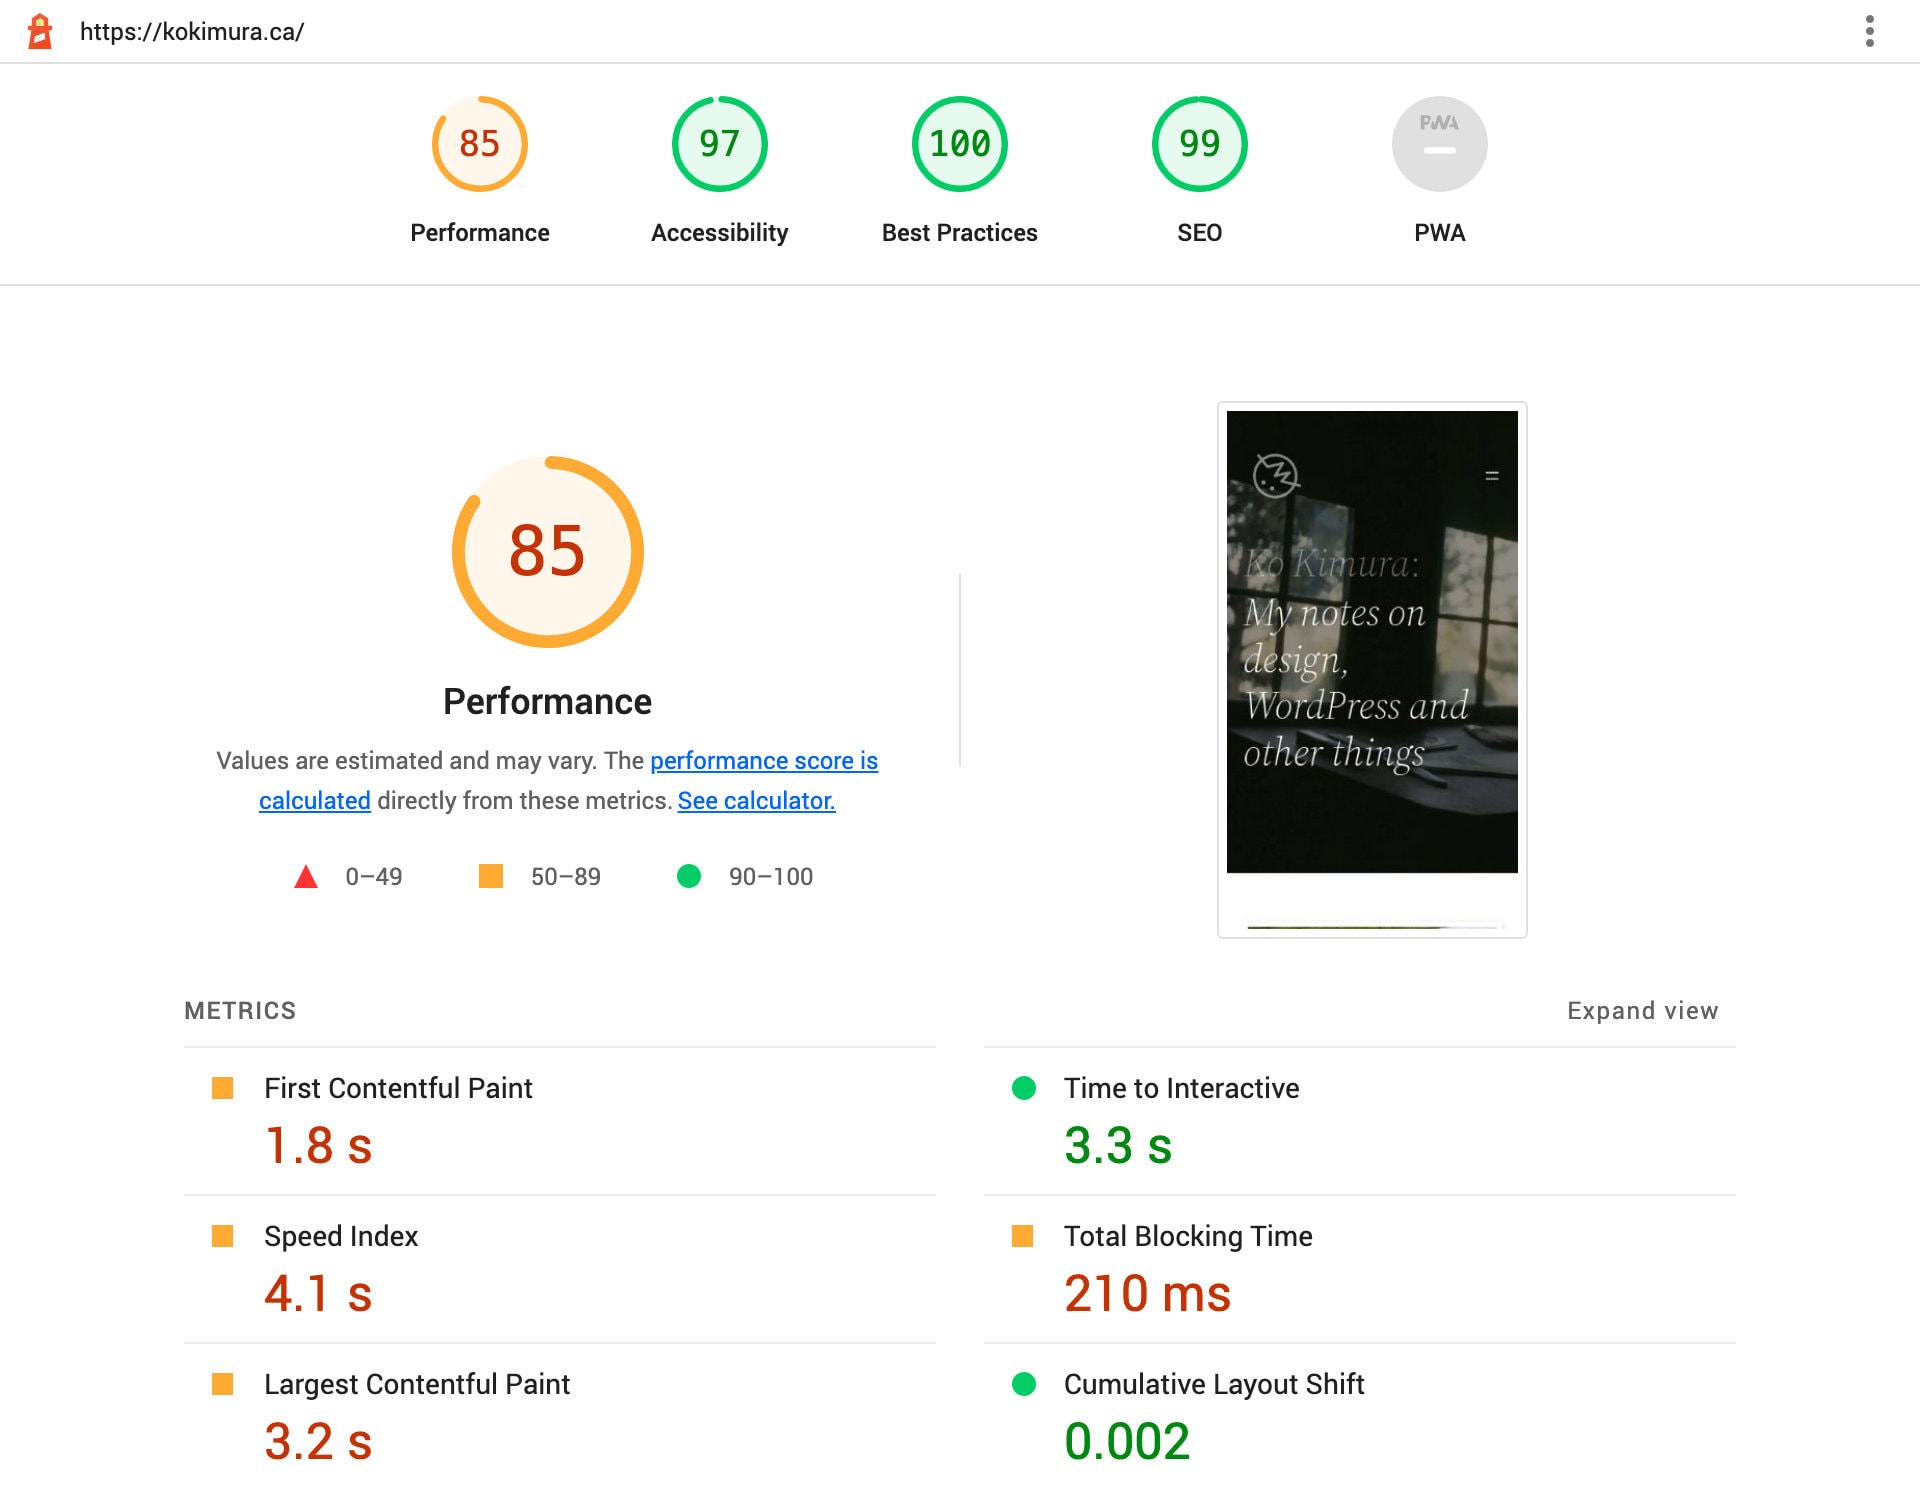
🙂 The site speed got slightly better.
This website is built with WordPress. I’ve been using WP Fastest Cache plugin for caching before setting up Cloudflare, and it’s been working OK. I also tried WP-Optimize plugin and had a similar result.
I found that site total performance improved slightly (4%) after setting up Cloudflare and turning the plugin off. It was a small improvement, but good to see the change.

😐 Clearing cache is not a 1-click job anymore.
When I made changes to stylesheets or scripts, I realized I couldn’t clear the cache with a click within the WordPress admin. I now have to go to Cloudflare and purge the cache there.
I usually finish up the development in a local environment, then upload it to the live server, so I don’t have to clear the cache all the time, and it won’t be a big deal. However, I got a bit lazy with my own website. I uploaded this site before finishing up the layout, so it became annoying that I had to log into Cloudflare so often. It is still a simple step, though. I’m just telling you how lazy I am here.
🙂 The result of “Who is” became more sealed.
When someone looks up the site using tools like Whois or ICANN LOOKUP, it will reveal site information, but if you have an option to turn on the domain privacy at your domain registrar, you can seal most of the information.
The most noticeable change I found in my case was the nameserver. It now shows Cloudflare nameservers. I don’t worry too much about revealing the hosting server, but it’s good that this tells the site is taking an extra step to make it secure.

Thoughts
I’ve just scratched the surface of the free version and don’t know if the benefits and the minor inconvenience found so far balance or not. I will dig into other options available to see if there is anything significant.
Updates
I bumped into an issue when the server tried to renew the site’s SSL certificate. Here is what I found.